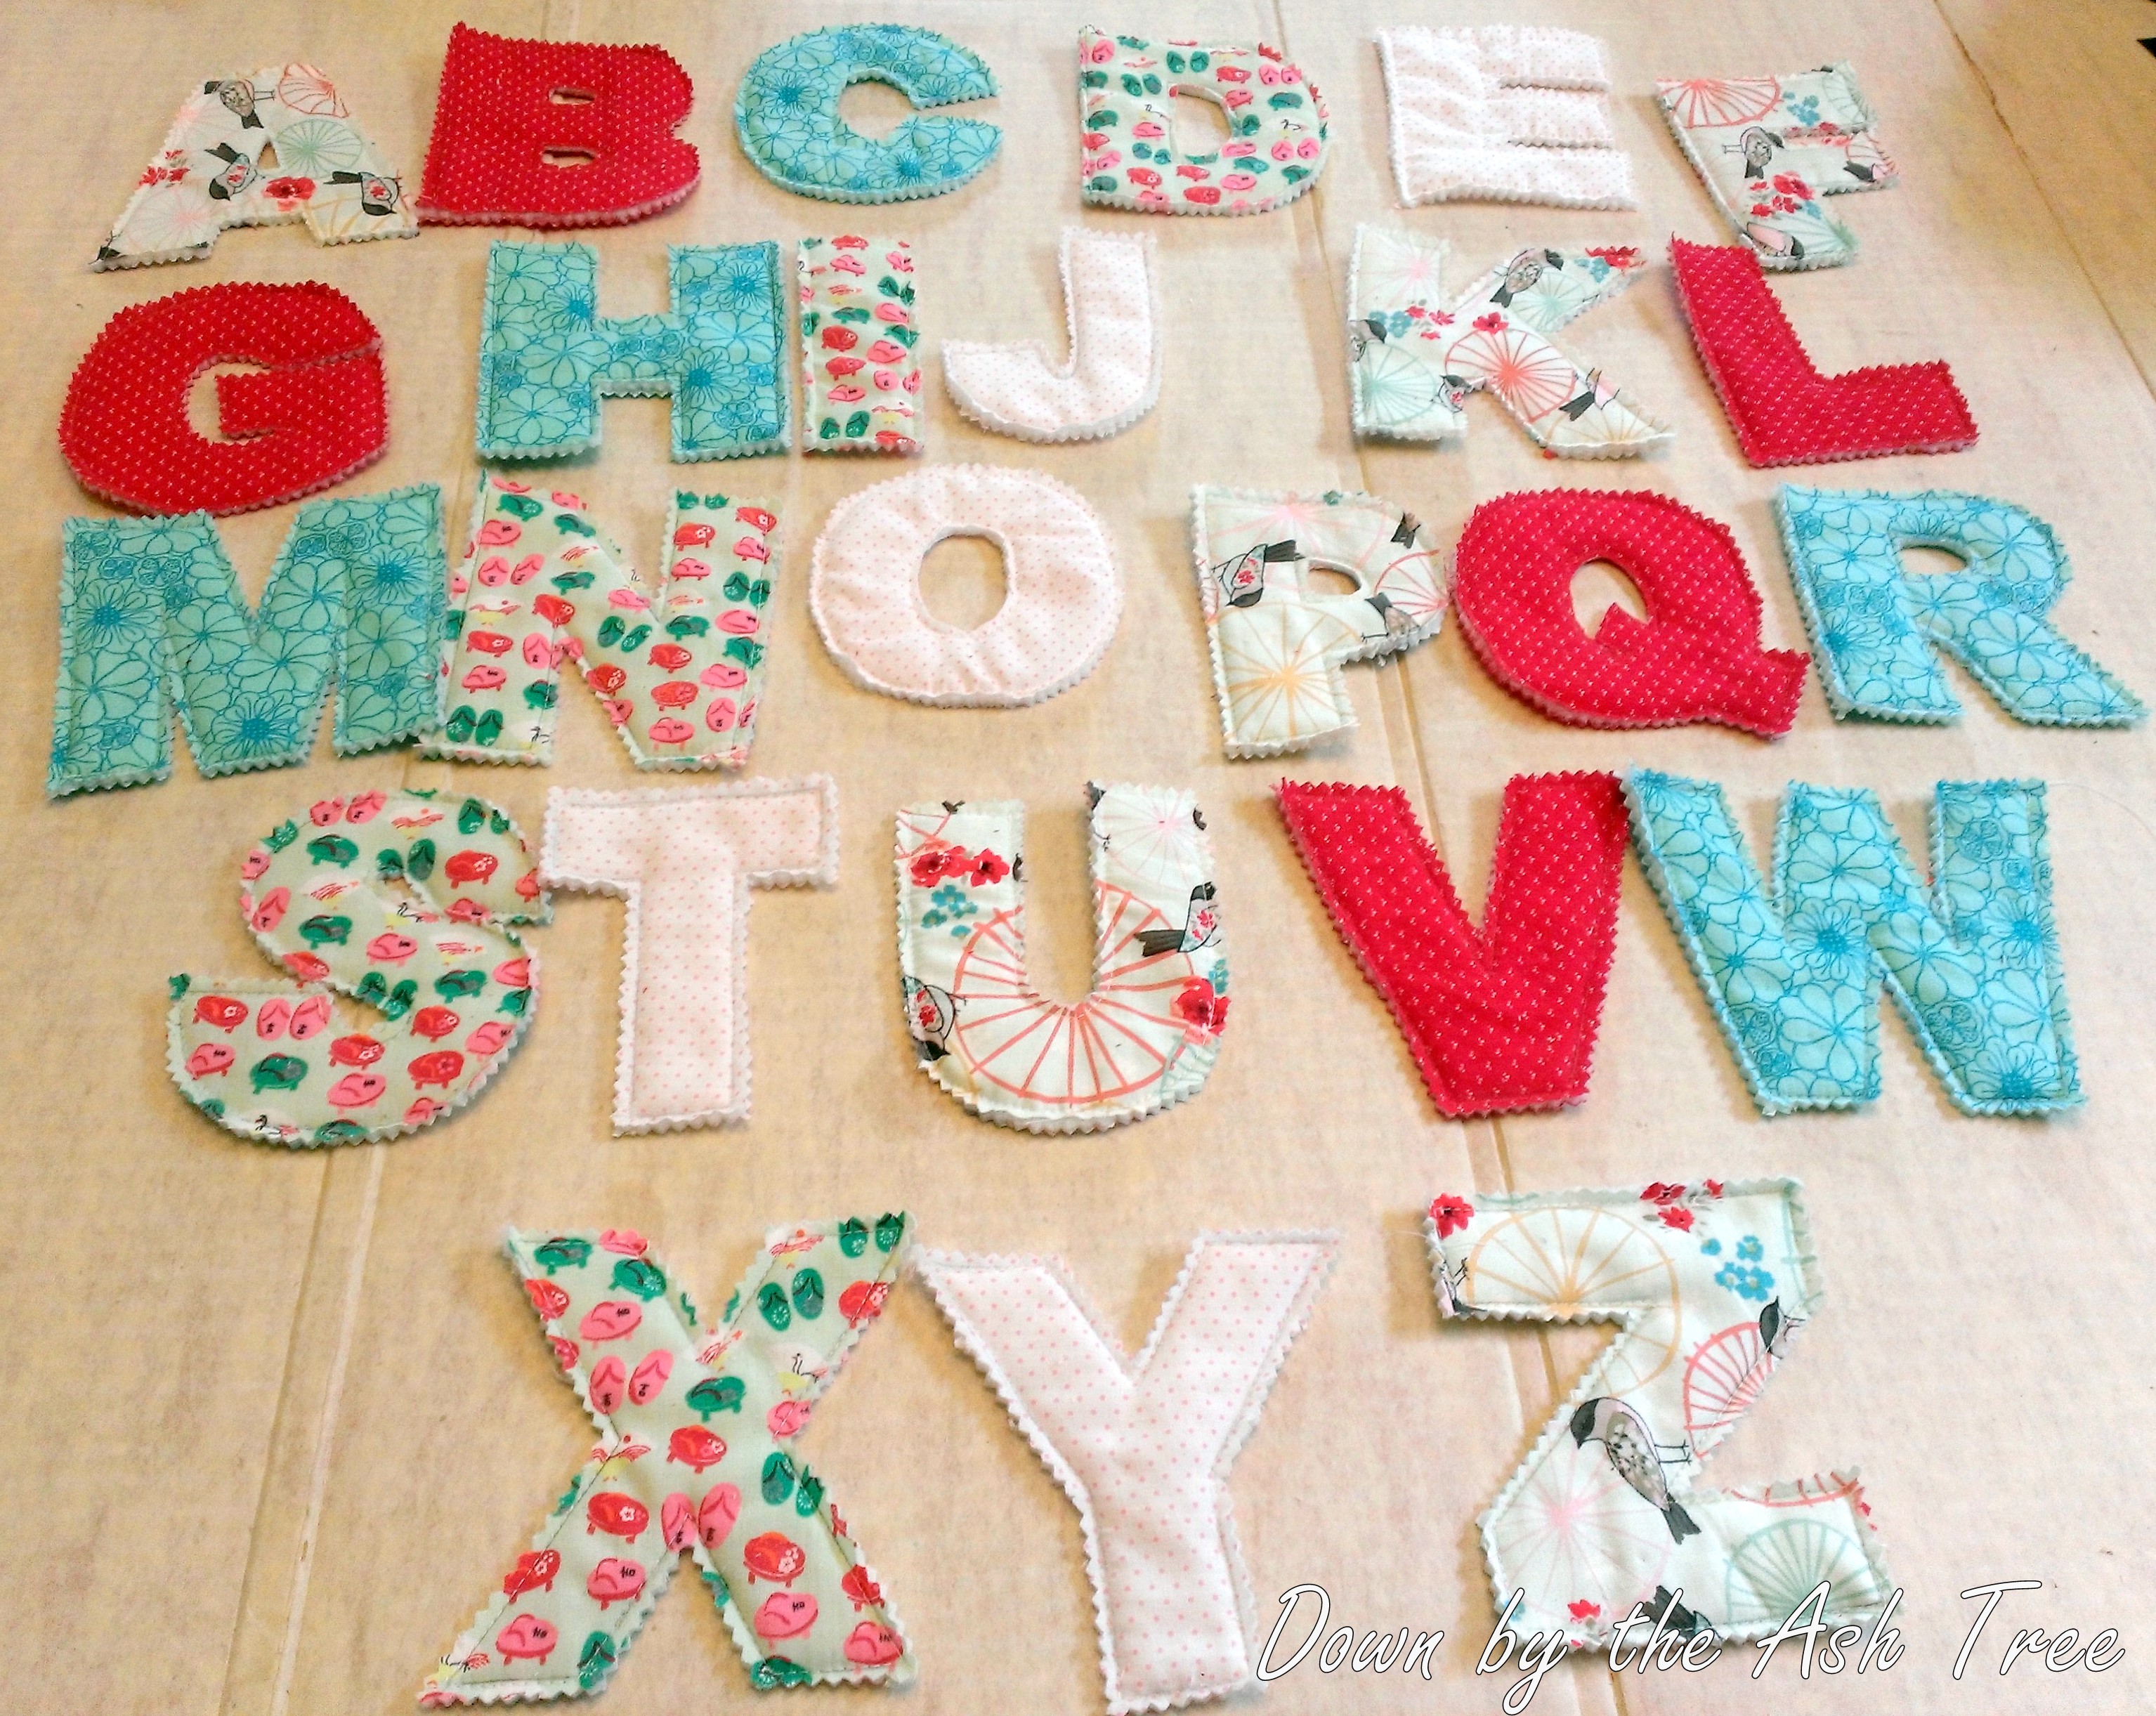
 A couple weeks ago, I posted about my friend who adopted from China and the Warm me up dollie and boo boo birdie I made as a gift for her. Since I still had plenty of her nursery fabric left, I had also envisioned making some quilted alphabet letters which will be a fun way to help her daughter learn the alphabet. I didn’t have time to finish these before the adoption shower, so I made them later the following week.
There really was no pattern online to grab for letters this large. Most of the ones I found had small letter templates, and since I wanted them to be bigger, I printed out all the letters from coloringprintables.net. It gives both the capital and lower case letters (so you could technically do two alphabets), and I printed them out on cardstock to make them more durable. Unfortunately, not all of the letters were the same size. There were some that were smaller than the others, so I used a ruler and a pencil to enlarge it to the extra quarter to half inch or so before cutting out. All of the letters came out to about 4.25 inches in height. You can look in the picture and see how I stretched some of the letters larger.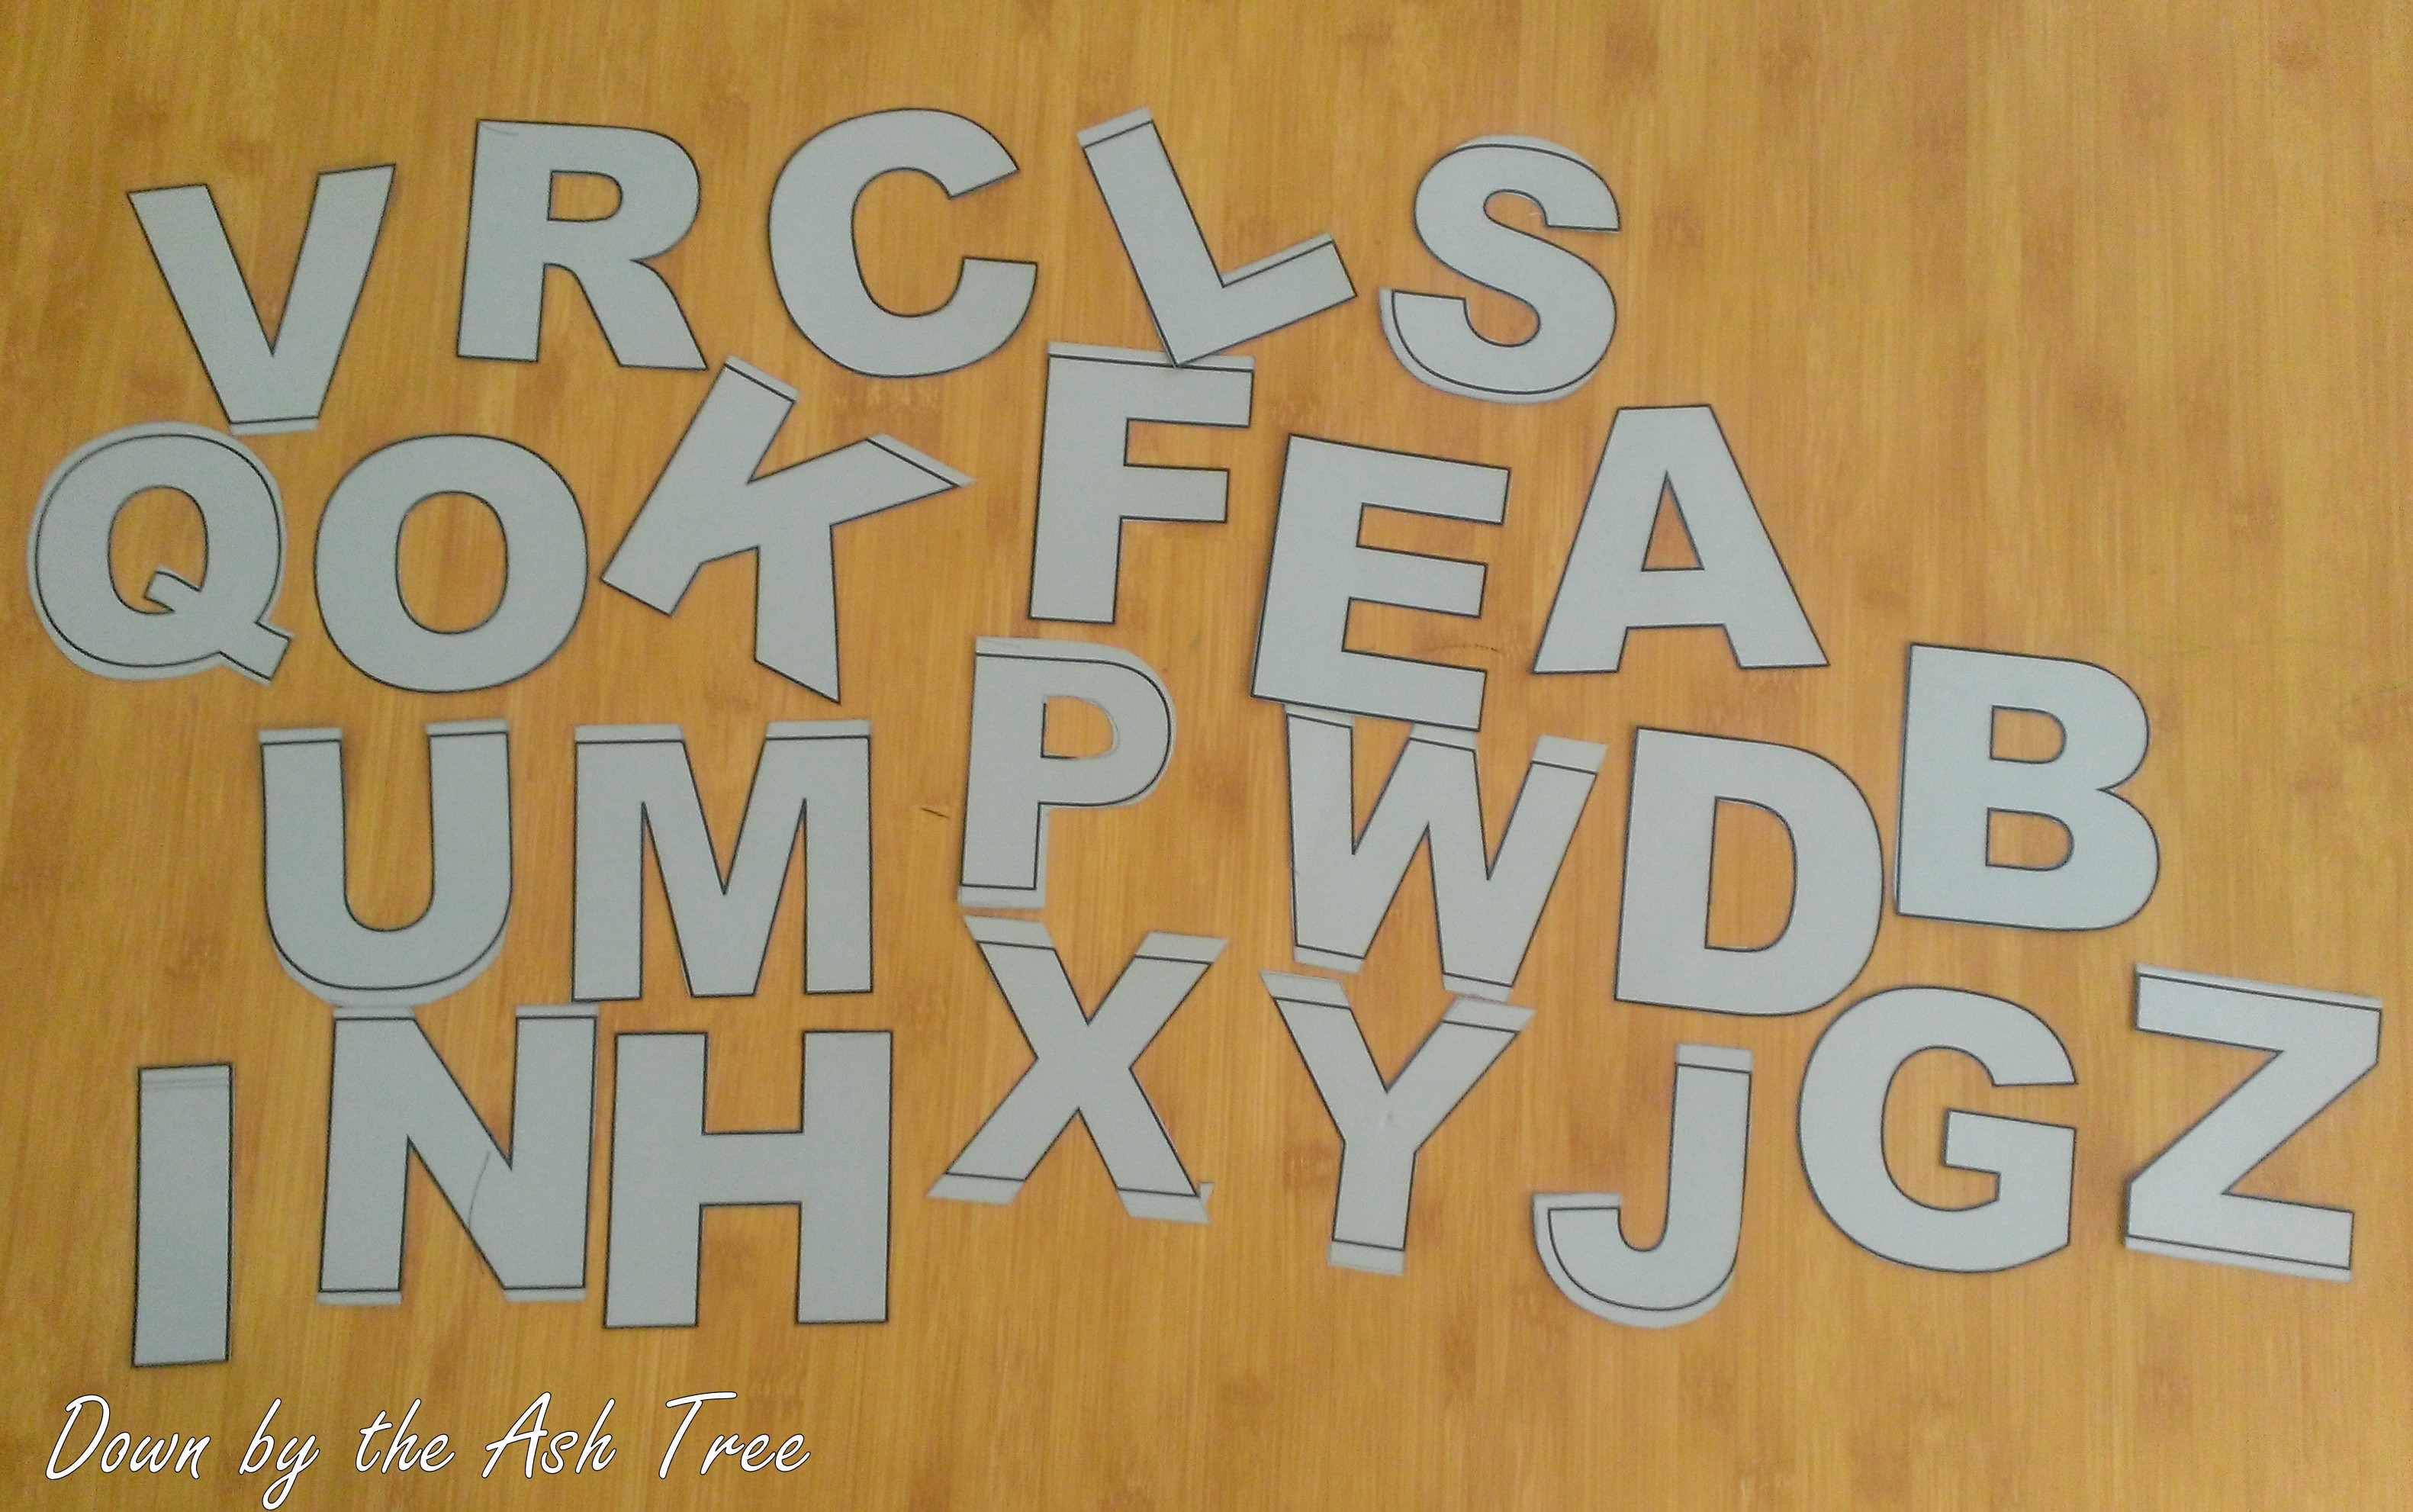
For the fabric, I selected some coordinating patterns that matched the nursery bird fabric. Since she was accenting the room with red and white polka dots and turquoise, I bought a small piece of some turquoise fabric and then used some other fabrics I had on hand. One was white with pink polka dots, the red fabric I used on the doll’s hair, and some cute geta shoe fabric that I’ve had for years that just happened to match so well, I had to use it! I know geta shoes are Japanese and not Chinese, but I didn’t think they would mind since they were cute, and it’s all about having interesting fabrics to stimulate her interest, right? 🙂

Oops! The pink and white polka dot fabric got left out of the pic!
Once I had my fabrics picked, I simply laid them out and placed the pieces one at a time through the order of fabrics (this was to ensure there were no repeats right next to each other). Then I traced the letters onto the fabrics. I used a pencil for this, but next time I think I will use chalk or disappearing ink…something that isn’t such a hassle to erase afterwards. It showed up on some fabrics more than others.
After tracing, I cut around them in rectangles or squares so that I could place it over another piece of the same fabric with some quilting batting sandwiched in between. I cut those out to the same size and pinned all three layers together. (I was sure I had taken a picture of the pinned squares, but alas, I cannot find it! Sorry!)
Then I stitched on the traced lines of the letter on the fabric. After I finished all the stitching, I used pinking shears to cut them all out (don’t cut too close to your stitching!), and used a small pair of fabric scissors to cut out the holes in the middle of the A and B and R, etc. since the pinking shears were too large to cut around such a small hole. You can dab a little fray check on it if you’d like since it is a straight trim.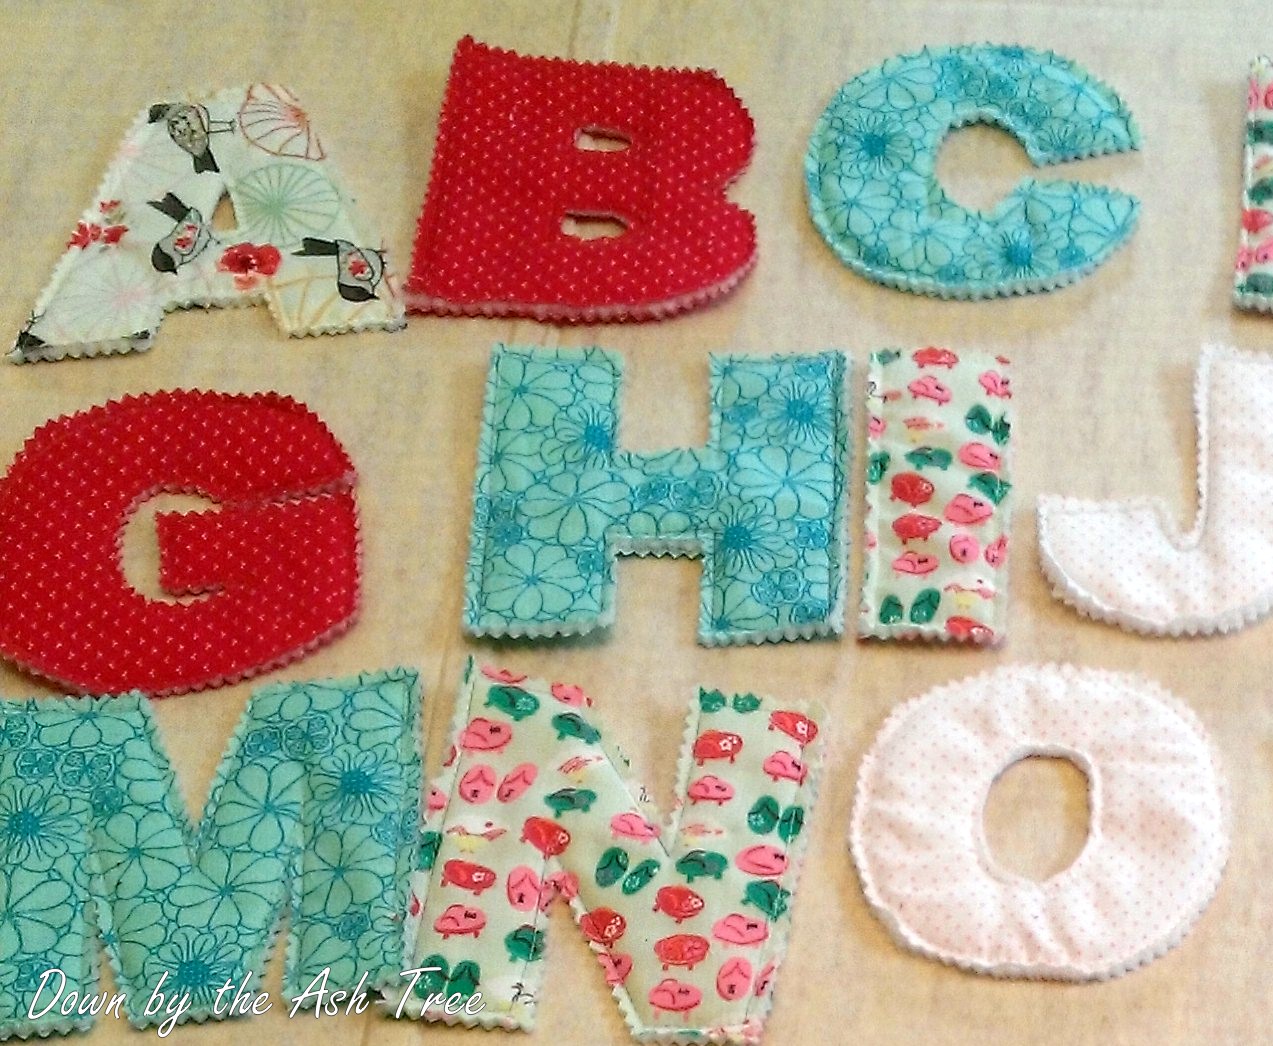
It really is a fun little project. I think I might even make some for my youngest since she loves all things letters. 🙂 This is a great project for any quilting scraps or batting you might have left over from other projects. Happy letter quilting!

They look great! I’ll have to introduce you to some of my favorite marking tools. =)